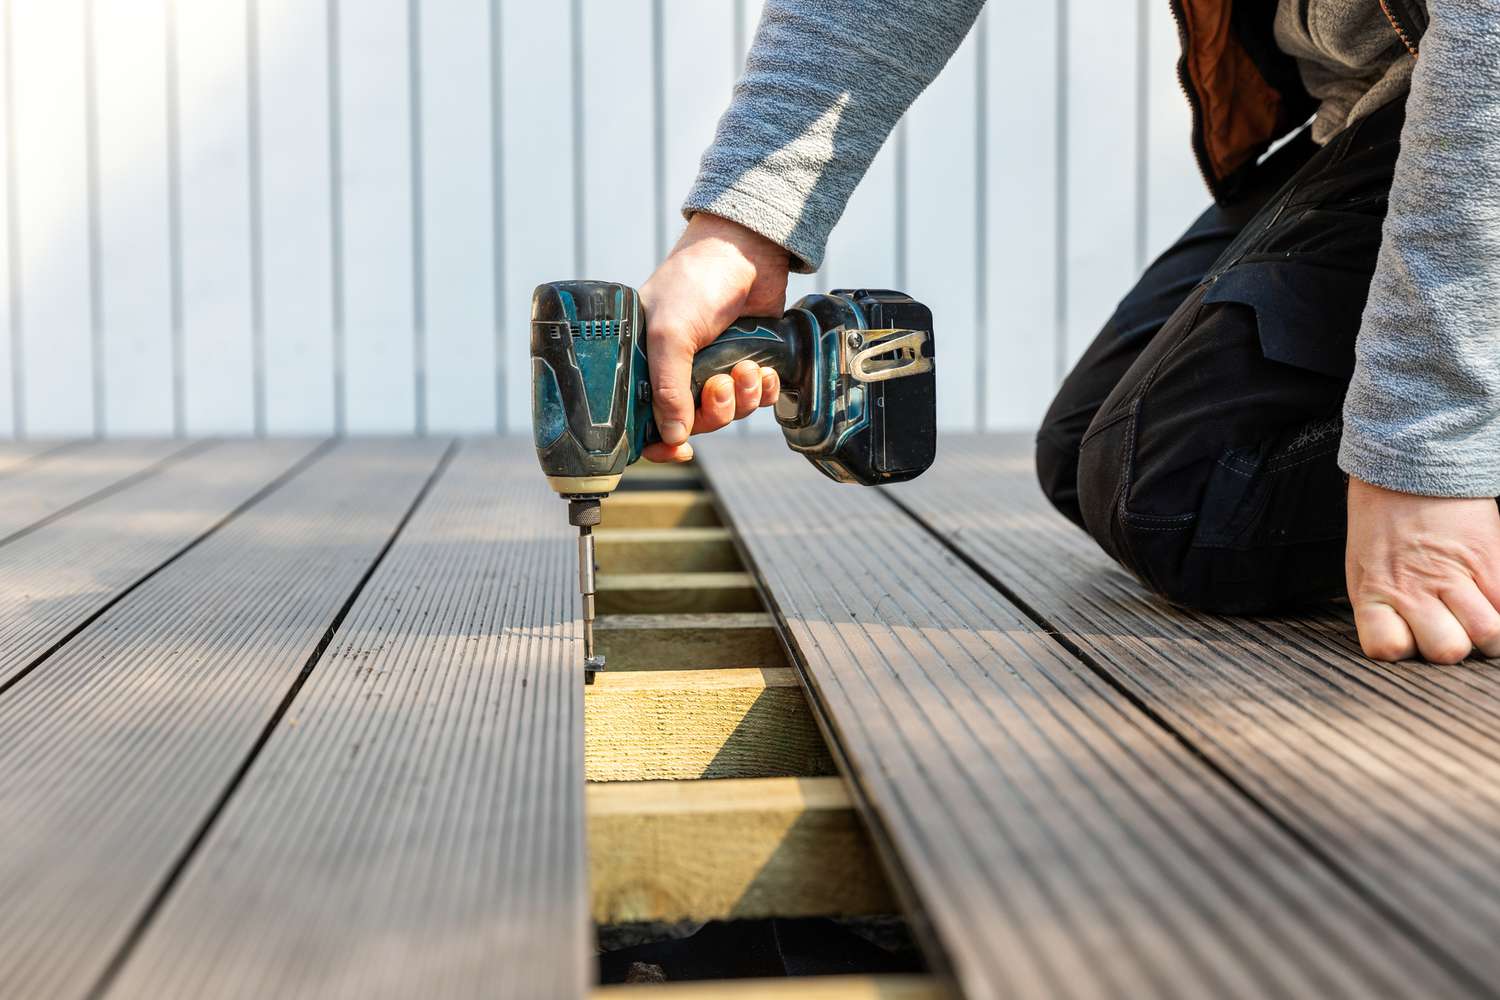
DIY Garden Projects for Beginners: Cultivating Your Green Thumb
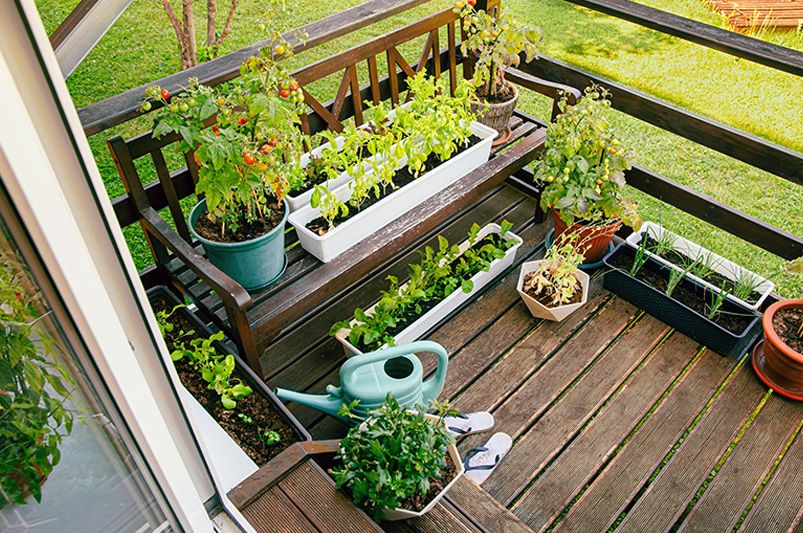
Starting a garden can be an incredibly rewarding experience, especially when you embark on DIY projects that add personality and functionality to your outdoor space. Whether you have a sprawling backyard or a cozy balcony, there are plenty of beginner-friendly gardening projects that will enhance your environment while nurturing your love for plants. Here are several engaging DIY garden projects perfect for novices, along with detailed steps to help you bring them to life.
1. Container Garden
Creating a container garden is an excellent way to start gardening, particularly if you have limited space. Container gardening allows you to grow a variety of plants, from herbs to flowers, in pots or other vessels.
Materials Needed
- Containers (pots, buckets, or recycled containers)
- Potting soil
- Plants or seeds of your choice
- Watering can
Steps
- Choose Your Containers: Select containers with drainage holes to prevent waterlogging. You can use terracotta pots, wooden boxes, or even old wheelbarrows for a rustic look.
- Fill with Soil: Fill each container with potting soil, leaving about an inch of space at the top.
- Select Your Plants: Choose plants suited for container gardening. Herbs like basil and mint, or flowering plants like petunias and marigolds, are great options.
- Plant: Arrange your plants in the container according to their size and growth habits, and then plant them at the recommended depth.
- Water: Give your newly planted containers a thorough watering. Ensure the soil is moist but not soggy.
Benefits
Container gardens are versatile and can be moved to capture optimal sunlight. They’re also ideal for beginners as they require less maintenance than traditional garden beds.
2. Raised Garden Beds
Building raised garden beds is a fantastic way to grow vegetables and flowers. This method not only improves drainage but also makes gardening more accessible.
Materials Needed
- Untreated wood planks (cedar or redwood is ideal)
- Wood screws
- Soil and compost
- Measuring tape and saw (or pre-cut boards)
Steps
- Choose a Location: Find a sunny spot in your yard, ensuring it receives at least 6-8 hours of sunlight daily.
- Measure and Cut Wood: Decide on the dimensions of your raised bed (e.g., 4 feet by 8 feet). Cut the wood planks accordingly.
- Assemble the Frame: Use screws to join the wood planks into a rectangular shape. Make sure the corners are secure.
- Position the Bed: Place the frame in your chosen location.
- Fill with Soil: Mix soil with compost to enrich the planting medium, then fill the raised bed to the top.
Benefits
Raised beds provide excellent drainage and reduce the risk of soil compaction. They also make gardening easier on the back and knees, making them a perfect project for beginners.
3. Vertical Garden
For those with limited horizontal space, a vertical garden is an innovative solution. This type of garden not only saves space but also adds visual interest to your outdoor area.
Materials Needed
- Pallet or wooden frame
- Landscape fabric
- Potting soil
- Plants (such as strawberries, herbs, or trailing flowers)
- Stapler or nails
Steps
- Prepare the Pallet: Clean and sand the pallet to remove any rough edges. Lay it flat and cover the back with landscape fabric to hold the soil in.
- Upright Position: Prop the pallet up against a wall or fence.
- Fill with Soil: Fill each slat with potting soil, packing it down slightly.
- Plant: Choose suitable plants for vertical growth and place them in the soil-filled slats.
- Water: Ensure the plants receive adequate water, especially since vertical gardens can dry out more quickly.
Benefits
Vertical gardens are a beautiful way to maximize space and create an eye-catching display. They also improve air circulation among plants, which can reduce the likelihood of pests.
4. Garden Pathway
Creating a garden pathway can enhance your garden’s aesthetic while providing a practical walking surface. It also defines the space and helps prevent soil compaction.
Materials Needed
- Paving stones, bricks, or gravel
- Landscape fabric
- Spade and rake
- Edging material (optional)
Steps
- Plan Your Path: Decide on the shape and width of your pathway. Sketch it out to visualize the design.
- Clear the Area: Remove any grass or debris along the path. Dig down about 3 inches to create a flat surface.
- Lay Landscape Fabric: Place landscape fabric to prevent weeds from growing through the path.
- Add Base Material: Pour a layer of gravel or sand to create a stable base.
- Place Paving Stones: Arrange your stones or bricks according to your design. Fill in any gaps with gravel or sand.
Benefits
A well-defined pathway not only improves accessibility but also adds a polished look to your garden. It encourages exploration and enjoyment of your green space.
5. Compost Bin
Creating a compost bin is an eco-friendly way to recycle kitchen scraps and yard waste while enriching your garden soil.
Materials Needed
- Wooden pallets or wire mesh
- Hinges (if using pallets)
- Compostable materials (kitchen scraps, leaves, grass clippings)
Steps
- Choose a Location: Select a dry, shady spot in your garden for the compost bin.
- Construct the Bin: Use wooden pallets to form a square or rectangular bin, securing them with hinges or wire. Ensure there’s enough space for air circulation.
- Add Compostable Materials: Layer green materials (fruit scraps, vegetable peels) with brown materials (dry leaves, cardboard) in your compost bin.
- Maintain the Pile: Turn the compost every few weeks to aerate it, promoting decomposition.
Benefits
Composting reduces waste and provides nutrient-rich material for your garden. It’s an engaging way to connect with nature and learn about the recycling process.
Embrace Your Gardening Adventure
These DIY garden projects are designed for beginners looking to enhance their outdoor space while developing their gardening skills. Each project is a step toward creating a thriving garden that reflects your personal style and preferences. As you embark on these projects, remember to embrace the process and enjoy the journey of nurturing your green thumb. Happy gardening!