How to Install a Water Softener System in Your Home
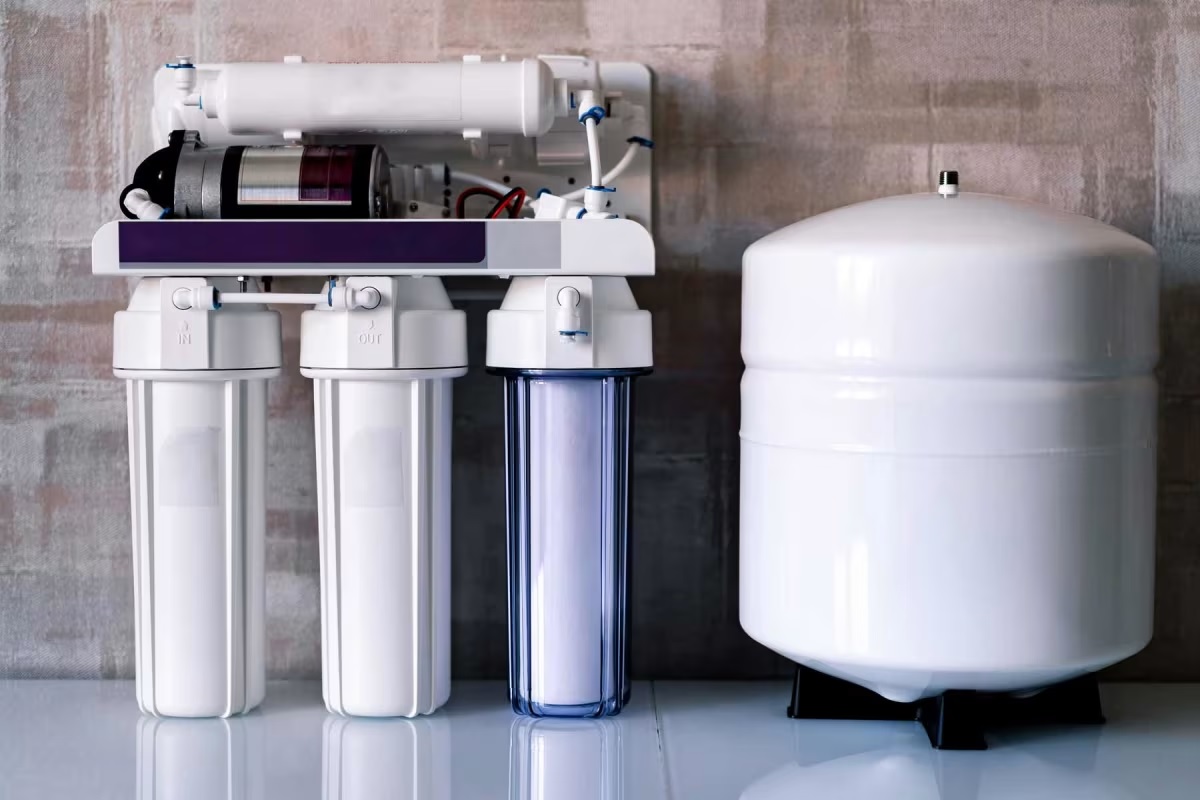
Hard water is a common issue in many households, and its effects can be far-reaching—from scale buildup in pipes and appliances to soap scum on dishes and skin irritation. Installing a water softener system can help alleviate these problems by removing the hardness-causing minerals like calcium and magnesium. In this blog post, we’ll walk you through the process of installing a water softener system in your home. We will cover everything from selecting the right system to the step-by-step installation process, ensuring your water quality improves with minimal hassle.
1. Understanding Your Water Softener System
Before you begin the installation, it’s important to understand the basic components of a water softener system. A typical water softener consists of the following parts:
- Mineral tank: This is where the actual softening takes place. Inside, resin beads remove the calcium and magnesium ions from the water.
- Brine tank: This tank holds the salt or potassium used in the regeneration process to clean the resin beads.
- Control valve: This valve manages the flow of water through the softener and controls the regeneration cycle.
- Bypass valve: This allows you to bypass the water softener system during maintenance or if you want to use untreated water for certain purposes, like watering plants.
2. Selecting the Right Water Softener for Your Home
Choosing the right water softener is essential to ensure optimal performance. The key factors to consider when selecting a system include:
- Water hardness: Determine the hardness level of your water by having it tested or referring to your local water utility’s water quality report.
- Water usage: Consider the size of your household and how much water you use daily. Larger families or homes with high water usage may require a larger capacity softener.
- Type of salt: Most water softeners use salt to regenerate the resin beads, but you can also choose potassium chloride for an eco-friendly alternative.
3. Gathering the Necessary Tools and Materials
Before you start the installation process, make sure you have the following tools and materials:
- A water softener system (including the mineral and brine tanks)
- Plumbing tools (wrench, pipe cutter, etc.)
- PVC pipe, fittings, and glue (if needed)
- Drill and screws for mounting the system
- Teflon tape for sealing pipe connections
- A level to ensure the system is properly aligned
4. Selecting the Installation Location
Choose a location for the water softener that is close to where your main water line enters the house. The ideal location should meet the following criteria:
- Accessibility: The system needs to be easily accessible for maintenance and refilling the salt.
- Drainage: Water softeners require a drain for the brine solution during the regeneration cycle. Ensure there is a drain nearby.
- Power supply: Some water softeners require an electrical outlet to power the control valve. Ensure there is a nearby power source.
Additionally, make sure that the area is free from potential damage from leaks or water overflow.
5. Turning Off the Water Supply
Before installing the water softener, turn off the main water supply to your home. This will prevent any water from flowing through the system while you are working. You may also want to relieve any pressure in the system by turning on a faucet after the water supply is shut off.
6. Installing the Water Softener
Follow these steps to install the water softener:
a. Install the Bypass Valve
Start by installing the bypass valve on the inlet and outlet ports of the water softener system. This valve allows you to shut off water to the softener if needed for maintenance or repairs.
b. Connect the Plumbing
Next, connect the inlet and outlet of the water softener to your home’s water supply. Depending on your system, you may need to use PVC pipes or flexible tubing. Be sure to use Teflon tape on the threads to create a watertight seal.
- Inlet connection: The inlet side of the water softener is where the hard water enters the system. This connection is typically marked with an “in” label.
- Outlet connection: The outlet side allows the soft water to flow into your home. This side is marked with an “out” label.
Use a wrench to tighten the connections securely but be careful not to overtighten, as this could cause damage to the pipes or fittings.
c. Set Up the Drain Line
The water softener requires a drain line for the brine solution that is flushed out during the regeneration cycle. Connect the drain hose from the brine tank to a nearby drain, such as a floor drain or laundry tub. Ensure the drain line is installed with a slight downward slope to allow proper drainage.
d. Install the Brine Tank
Position the brine tank next to the mineral tank. The brine tank is where the salt or potassium chloride is stored, which is essential for regenerating the resin beads. Follow the manufacturer’s instructions to connect the brine tank to the mineral tank via the control valve.
7. Filling the Brine Tank with Salt
Once the system is installed and connected, fill the brine tank with the appropriate amount of salt. Typically, you will use sodium chloride (rock salt or evaporated salt) or potassium chloride, depending on your preference. Check the manufacturer’s guidelines for the recommended salt type and fill the tank to the designated level.
8. Powering Up and Testing the System
With everything connected, power up the water softener system and set the control valve according to the manufacturer’s instructions. Most systems have a manual or automatic regeneration cycle, which you can program based on your water usage. Set the timer and initiate the regeneration cycle to ensure that the system is functioning properly.
Test the water to check for soft water. You can do this by using a water hardness test kit or by simply checking for common signs of hard water, such as spots on dishes or scale buildup in faucets.
9. Regular Maintenance and Monitoring
After installation, it’s important to regularly maintain your water softener to ensure it continues to work efficiently. Some maintenance tasks include:
- Refilling the brine tank: Add salt or potassium chloride as needed.
- Cleaning the brine tank: Periodically clean the brine tank to prevent the buildup of sediment or salt bridges.
- Checking the control valve settings: Make sure the system is properly programmed for regeneration.
10. Conclusion
Installing a water softener system in your home can provide numerous benefits, from improving the quality of your water to extending the lifespan of your plumbing and appliances. While the installation process may seem daunting, following the proper steps and having the right tools can help make the process much smoother. By selecting the right system, positioning it correctly, and performing regular maintenance, you’ll enjoy the advantages of soft water for years to come.